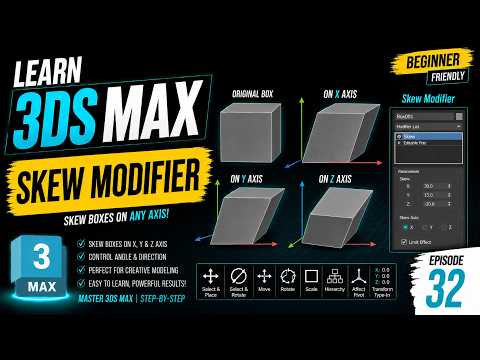
Whether you are a beginner or an experienced 3D artist, mastering parametric modifiers is key to building complex geometry efficiently. Among the many built-in tools, the Skew modifier stands out as one of the simplest yet most effective ways to distort and shape your 3D objects.
In this article, we’ll explore how to effectively use the Skew modifier in 3ds Max to slant and deform geometry across the X, Y, and Z axes.
What is the Skew Modifier?
The Skew modifier allows you to produce an offset slant in an object's geometry. Instead of manually moving vertices, this parametric tool applies a uniform distortion along a specified direction and axis. It is particularly useful for creating stylized architecture, slanted props, organic bends, or dynamic architectural elements.
By understanding how the Skew modifier works in 3ds Max, you can maintain a non-destructive workflow, adjusting parameters at any point during your modeling process.
Key Settings of the Skew Modifier
To get the best results from the Skew modifier, you need to understand its primary parameters:
- Amount: Determines the angle and distance of the slant. Increasing this value creates a more pronounced skew effect.
- Direction: Controls the relative direction of the skew relative to the selected axis.
- Axis (X, Y, Z): Defines which coordinate axis the distortion occurs along. Switching between X, Y, and Z allows you to slant your object vertically, horizontally, or along its depth.
- Limits: By enabling "Limit Effect," you can restrict the skew action to a specific region of your object using Upper and Lower Limit values.
Pro Tip for Smooth Skewing
A common issue beginners face when using modifiers is jagged or uneven distortion. To achieve smooth, clean curves or slants, ensure your base object has enough height, width, or length segments. Without sufficient topology, the modifier cannot bend or tilt the surface properly.
Final Thoughts
The Skew modifier is a versatile tool that every 3D designer should have in their toolkit. By experimenting with different axes, directions, and limit settings, you can unlock endless creative possibilities and speed up your overall workflow in 3ds Max.


