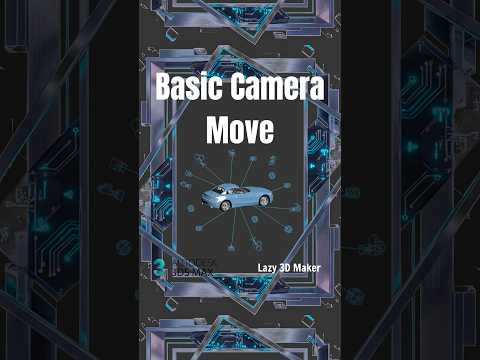
Creating a stunning 3D scene is only half the battle. To truly bring your digital environments to life, you must understand how to frame them. Just as a cinematographer chooses specific lenses to tell a story, a 3D artist must master camera placement to evoke emotion and clarity. In this guide, we explore the fundamental camera shots you need to master within Autodesk 3ds Max to elevate your architectural visualizations and animations.
The Importance of Composition in 3D
In the world of 3D modeling and rendering, the camera is your most powerful storytelling tool. Whether you are using V-Ray or Corona Renderer, the principles of composition remain the same. A well-placed camera can disguise minor modeling imperfections and draw the viewer's eye exactly where you want it. By understanding basic shots, you transform a simple digital model into a professional-grade portfolio piece.
Essential Camera Shots for Every Artist
To create a dynamic presentation, you should utilize a variety of angles. Here are the most common shots used in Autodesk 3ds Max:
- The Wide Shot (Establishing Shot): This is perfect for showing the entire environment or architectural layout. It provides the viewer with context, scale, and a sense of space.
- The Medium Shot: This shot is ideal for focusing on specific furniture arrangements or interior design details, providing a balance between the subject and the surrounding environment.
- The Close-Up (Macro Shot): Use this to showcase material quality, such as the intricate wood grain of a table or the displacement of a fabric texture. These shots are essential for demonstrating the high-fidelity capabilities of your render engine.
Streamlining Your Workflow
Setting up cameras manually can sometimes be a tedious process. For those looking to optimize their workflow, tools like the "Lazy 3D Maker" script can significantly speed up the setup of basic scenes and camera positions. This allows you to spend more time on lighting and materials and less time on repetitive technical adjustments.
Final Tips for Professional Renders
To add that final layer of realism, always experiment with Depth of Field (DoF). By slightly blurring the background or foreground, you create a sense of depth that mimics real-world photography. Whether you are a beginner or an experienced professional, mastering these camera techniques within Autodesk 3ds Max will ensure your renders stand out in a competitive industry. Practice these shots in your next project to see an immediate improvement in your visual storytelling.


