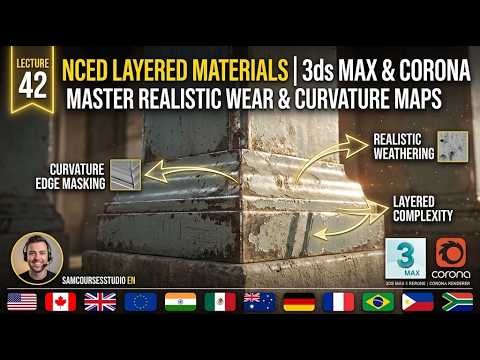
In the competitive world of 3D architectural visualization, the difference between a "good" render and a "photorealistic" masterpiece often lies in the subtle details of the surfaces. Achieving that high-end look requires more than just basic textures; it requires a deep understanding of how light interacts with complex surfaces. If you are looking to elevate your shading skills, this 3ds Max tutorial on advanced layered materials in Corona Renderer is designed to take your work to the next level.
The Power of Layered Materials
In the real world, very few surfaces are perfectly uniform. A wooden table might have a base stain, a layer of varnish, a subtle accumulation of dust, and perhaps a few scuffs or fingerprints. Recreating this complexity in a digital environment is where the Corona Layered Mtl shines. Instead of trying to bake all these details into a single texture, layered materials allow you to stack different shaders on top of one another, much like layers in Photoshop. This non-destructive workflow gives you unparalleled control over the final look of your asset.
Mastering Masks and Blending
The secret to success in this 3ds Max tutorial lies in the effective use of masks. Masks determine exactly where a top layer (like dirt or gloss) reveals the base layer underneath. By utilizing procedural maps, such as Corona Curvature or high-quality grunge bitmaps, you can create realistic wear and tear on the edges of your models or add organic-looking imperfections across flat surfaces.
During this process, it is vital to pay attention to "Glossiness" and "Reflectivity" maps. When these are combined within a layered material, they create a sense of depth that a single material simply cannot replicate. This technique is essential for creating everything from oxidized metals to weathered masonry.
Optimizing Your Workflow for Production
While building complex shaders is exciting, it is important to keep your node editor organized. As you follow along with Lecture 42, you will learn that naming your layers and organizing your map inputs is crucial for professional production environments. An optimized material not only looks better but is also easier to tweak when a client requests changes to the "shininess" or "roughness" of a specific part of the object.
By mastering these advanced techniques, you move beyond the basics of 3D modeling and enter the realm of digital artistry. Experimenting with different blending modes and stack orders will allow you to develop a unique style that stands out in any portfolio. Whether you are a beginner or an intermediate user, practicing these layered material workflows is a guaranteed way to improve your rendering quality.


