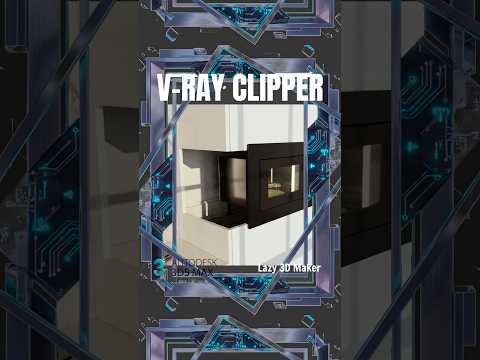
Creating detailed architectural cutaways or complex section views often feels like a hassle, especially if you think you have to slice your 3D models manually. Thankfully, if you are working with 3ds Max and V-Ray, there is a powerful tool designed to make this process completely non-destructive: the V-Ray Clipper Modifier.
In this guide, we will explore how to harness the V-Ray Clipper to produce clean, realistic cross-section renders without permanently altering your underlying geometry.
What is the V-Ray Clipper?
The V-Ray Clipper is a render-time object that cuts away parts of your scene only when the frame is being generated. Because it operates purely during the rendering phase, your original mesh remains untouched. It is the ideal feature for architectural floor plans, complex machinery cutaways, or showcasing interior design layouts without adjusting camera clipping planes or deleting exterior walls.
How to Set Up V-Ray Clipper in 3ds Max
Integrating this feature into your workflow is quick and straightforward. Follow these simple steps to set up your first cutaway render:
- Create the Clipper Object: Navigate to the Create Panel > Helpers > V-Ray, and select VRayClipper. Click anywhere in your viewport to place the plane helper.
- Position the Clipping Plane: Use the standard Move and Rotate tools to align the plane where you want the cut to occur. The directional arrow on the helper icon indicates which side of the scene will be hidden.
- Customize the Cap Material: By default, V-Ray Clipper caps the exposed cut surfaces so your objects do not look hollow. You can assign a custom material to the cut edge in the properties panel to give it a clean, professional finish.
- Exclude Objects: If you need specific objects—such as light fixtures, windows, or background elements—to remain unclipped, add them to the Exclude list within the clipper settings.
Why Use Render-Time Clipping?
Using render-time clipping significantly accelerates your visualization workflow. It completely eliminates the need for destructive Boolean operations, which often ruin mesh topology and produce lighting artifacts. Furthermore, integrating seamlessly into your 3ds Max environment allows you to easily animate the clipping plane for dynamic reveal shots.
Final Thoughts
Mastering the V-Ray Clipper modifier is one of the easiest ways to elevate your technical and architectural presentations. By adopting this tool, you save valuable production time while maintaining clean, flexible scene files. Try applying it to your next render setup to take your 3ds Max skills to the next level!


