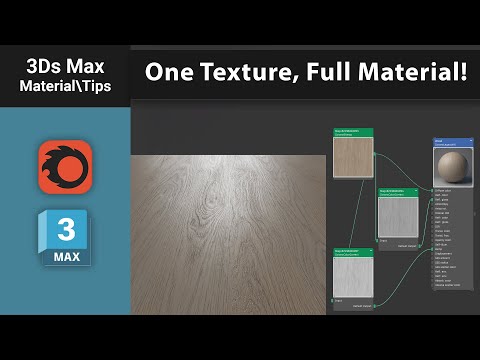
Creating high-quality 3D renders often feels like a balancing act between visual fidelity and system performance. Traditionally, a realistic material requires a full PBR (Physically Based Rendering) set, including diffuse, reflection, roughness, and bump maps. However, what happens when you only have one high-resolution image to work with? In this guide, we’ll explore how to transform a single 3ds Max texture into a complex, professional-grade material using Corona Renderer.
The Power of a Single Map Workflow
Using a single texture isn't just a shortcut; it is a powerful technique for optimizing your scene’s memory usage. When you master the art of manipulating a 3ds Max texture, you gain the ability to create infinite material variations without the need for massive library folders. This approach is particularly useful for architectural visualization artists who need to quickly iterate on designs while keeping their 3ds Max files lightweight and responsive.
Deriving Map Channels via Nodes
The secret to achieving realism with one map lies in the Corona node editor. By utilizing utility nodes, you can derive all the necessary data from your original diffuse map:
- Reflection/Roughness: Use a "Color Correction" node to desaturate your map. By adjusting the contrast and brightness, you can define which areas of the material are shiny and which are matte.
- Bump and Displacement: By plugging the same map into an "Output" node and increasing the RGB Level or using a "CoronaBumpConverter," you can create convincing surface depth and micro-detail.
- Color Variation: You can even use the original map to drive color shifts, ensuring that the tonal variations in your material remain physically plausible and consistent.
Fine-Tuning for Maximum Realism
To make your 3ds Max texture look truly premium, pay close attention to the "Gamma" and "Invert" settings. For instance, inverting the grayscale version of your texture often provides a more accurate Roughness map, where dark areas represent smoothness and light areas represent imperfections.
By the time you finish your node setup, your single-map material will possess the same depth, reflection accuracy, and tactile quality as a multi-map PBR set. This workflow not only saves time during the asset sourcing phase but also gives you complete creative control over every aspect of your shader’s behavior.


