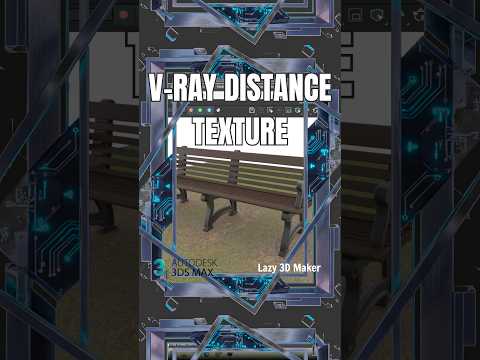
Achieving organic, realistic interactions between objects in a 3D scene can often be a manual, time-consuming process. However, if you want to automate these details and add a layer of procedural sophistication to your renders, this Max tutorial on the V-Ray Distance Map is exactly what you need. Whether you are working on architectural visualization or complex environment design, understanding distance-based mapping is a game-changer for your workflow.
What is the V-Ray Distance Map?
The V-Ray Distance Map is a procedural texture that changes its appearance based on the proximity of one object to another. Instead of manually painting masks in Photoshop, you can tell V-Ray to change the color, displacement, or transparency of a surface whenever another object gets close to it. This creates a dynamic relationship between your 3D assets that updates automatically if you move the objects around.
Practical Applications for Your Scenes
Why should you integrate this into your next project? The applications are nearly endless: * Landscaping: Create a path through a lawn by using a "Distance Map" to tell the grass (via V-Ray Fur or displacement) to disappear or shorten whenever it is near a walkway object. * Weathering and Dirt: Automatically add dirt or "ambient occlusion" style staining where two objects meet, such as a column hitting a stone floor. * Water Effects: Generate ripples or foam around the edges of a pool or where a boat hits the water surface.
Setting Up the Map: Step-by-Step
In this Max tutorial, we focus on the core setup. First, open your Material Editor and create a V-Ray Distance Map. In the parameters, you will see an "Objects" list. Simply pick the objects in your viewport that you want to act as the "influence" objects.
The map uses two primary colors: Near Color (the color shown when objects are touching) and Far Color (the color shown when they are far apart). By adjusting the "Distance" value, you control the softness of the transition between these two states. You can also plug other textures into these slots to create complex material blending.
Efficiency Meets Realism
One of the biggest benefits of mastering this tool is the non-destructive nature of the workflow. Because it is a procedural map, you don’t have to worry about UV unwrapping every detail or re-rendering textures every time a client asks to move a wall or a piece of furniture.
By following this Max tutorial approach, you ensure your renders have those "micro-details" that separate beginners from professionals. Start experimenting with the V-Ray Distance Map today and watch your 3D environments come to life with automated, realistic interactions.


