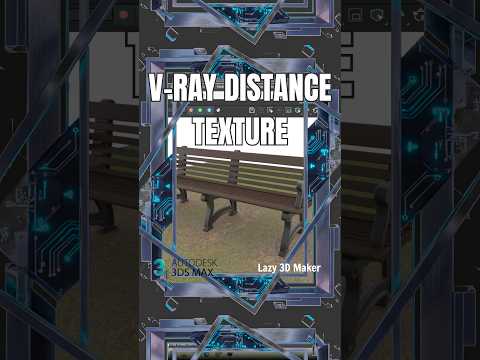
Are you looking to take your 3D rendering and procedural shading to the next level? The V-Ray Distance Map is one of the most powerful yet underutilized utility maps available in V-Ray. It allows artists to create dynamic, complex procedural effects based on the proximity between scene objects—without the need for tedious manual UV unwrapping or complex geometry modifications.
In this guide, we’ll explore how to master the V-Ray Distance Map in 3ds Max to streamline your texturing workflow and boost render realism.
What is the V-Ray Distance Map?
The VRayDistanceTex map generates a procedural texture map based on the physical distance between target objects in your scene. It calculates how close or far geometry surfaces are from one another and outputs a customizable grayscale gradient. You can use this gradient as a mask to drive various material attributes such as opacity, bump, displacement, diffuse color transitions, or blending maps.
Creative Use Cases for 3D Artists
- Edge Wear and Dirt Contact: Automatically add grime, dust, or worn edges to contact points where two objects touch.
- Water Shorelines & Waves: Create dynamic foam and wave displacement surrounding objects floating in or intersecting water planes.
- Vegetation Masking: Exclude grass, trees, or scattered objects around pathways, walls, or building foundations.
- Interactive Cutaways: Mask out parts of an object to reveal interior details seamlessly.
How to Set Up VRayDistanceTex in 3ds Max
Setting up distance-based textures is quick and flexible:
- Open the Material Editor: Launch the Slate Material Editor inside 3ds Max and assign a V-Ray Material or V-Ray Blend Material to your object.
- Add VRayDistanceTex: Navigate to the V-Ray Maps category and drag a
VRayDistanceTexnode into your active view. - Pick Objects: Select the distance map properties and add the source objects into the "Objects" list (these are the items that will trigger the distance effect).
- Adjust Distance Parameters: Define the radius of influence using the
Distancevalue. - Configure Grayscale Colors: Set the
Far Color(area outside the distance threshold) andNear Color(area inside the distance threshold) to establish your mask contrast. - Plug into Your Shader: Connect the output of the distance map into your desired material input, such as Opacity, Bump, or Blend Amount.
Conclusion
By incorporating the V-Ray Distance Map into your 3ds Max pipeline, you can drastically reduce manual texturing time while adding non-destructive, dynamic details to your 3D renders. Experiment with blending this map with noise textures for even more realistic procedural results!


