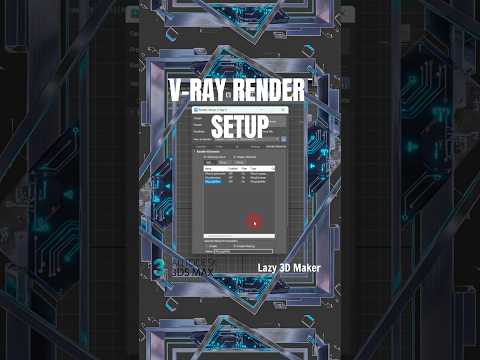
Creating photorealistic 3D visualizations requires the perfect combination of powerful software and fine-tuned settings. For industry professionals and digital artists alike, pairing 3ds Max with the V-Ray render engine remains the gold standard for producing breathtaking architectural visualizations and product designs. However, configuring your renderer for the first time can feel overwhelming without a clear roadmap.
In this guide, we will walk you through the essential steps to set up V-Ray efficiently, balancing rendering speed with stunning image quality.
Step 1: Assign V-Ray as Your Active Renderer
Before tweaking lights or materials, you must set V-Ray as your default rendering engine.
- Open your project in 3ds Max and press F10 (or navigate to Rendering > Render Setup).
- At the top of the Render Setup window, set the Target to Production Rendering Mode.
- In the Renderer drop-down list, select V-Ray (for CPU rendering) or V-Ray GPU depending on your hardware hardware setup.
Step 2: Optimize Image Sampler Settings
The Image Sampler controls how anti-aliasing is calculated across your scene.
- Progressive Sampler: Ideal for test renders because it provides immediate visual feedback that progressively cleans up over time.
- Bucket Sampler: Best suited for final high-resolution renders. It divides the image into small squares (buckets), focusing processing power to deliver crisp edges and fine details.
Step 3: Configure Global Illumination (GI)
Global Illumination simulates realistic bounce lighting within an environment. For the best balance of render speed and quality:
- Go to the GI tab in the Render Setup dialog and check Enable GI.
- Set the Primary Engine to Brute Force for maximum accuracy in lighting details.
- Set the Secondary Engine to Light Cache to quickly calculate soft light bounces throughout complex interiors or outdoor scenes.
Step 4: Leverage the V-Ray Frame Buffer (VFB)
Always render using the V-Ray Frame Buffer rather than the default native renderer window. The VFB offers powerful built-in post-processing tools, allowing you to tweak exposure, adjust color balance, and apply lens effects like bloom and glare directly without leaving the application.
Conclusion
Mastering render setup is an essential skill for any 3D artist. By correctly configuring V-Ray inside 3ds Max, you establish a solid foundation that yields professional, clean renders while keeping processing times under control. Practice with these foundational settings on your next project to elevate your 3D workflow!


