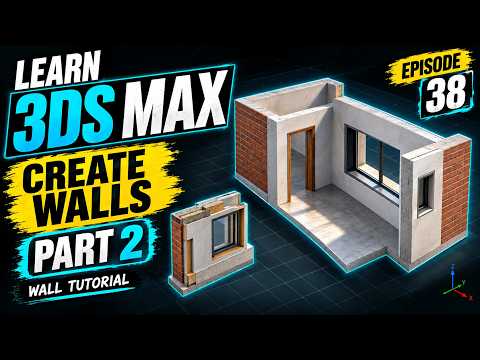
Building realistic 3D environments starts with getting the architectural foundation right. Whether you are designing a detailed interior space or a complex exterior structure, learning how to model clean and accurate architectural elements is essential for any digital artist. In this guide, we will explore the core techniques for creating precise walls using 3ds Max.
Setting Up Your Blueprint and Grid
Before diving into geometry creation, establishing proper scale and units is critical. Importing CAD floor plans or reference images directly into your viewport allows you to trace layout lines with maximum precision. Enabling vertex and grid snapping tools ensures every wall segment aligns perfectly with your design blueprint, saving you time down the road.
Essential Methods for Wall Creation
There are several flexible workflows you can adopt depending on your project requirements:
- Spline Tracing & Extrude Modifier: Outline the floor plan using 2D Splines and apply the Extrude modifier to generate vertical height effortlessly. This is one of the most efficient workflows in 3ds Max for rapid architectural layout drafting.
- Editable Poly Modeling: Convert base primitives or extruded shapes into an Editable Poly. This allows you to manually extrude, bridge, and slice openings for doors and windows, giving you full control over edge loops and vertex placement.
- Parametric AEC Objects: Utilize native architectural tools specifically built to generate parametric wall structures with custom height, thickness, and alignment settings.
Tips for Clean Topology and Seamless Rendering
To prevent light leaks and unwanted shading artifacts during the rendering phase, always maintain clean geometry. Make sure overlapping vertices are properly welded and unnecessary polygon faces are removed. Well-constructed geometry not only renders faster but also makes applying materials and textures significantly easier.
Mastering these foundational modeling techniques in 3ds Max will streamline your architectural visualization pipeline and drastically improve the quality of your 3D scenes. Apply these steps to your next project to build sharp, professional 3D environments!


