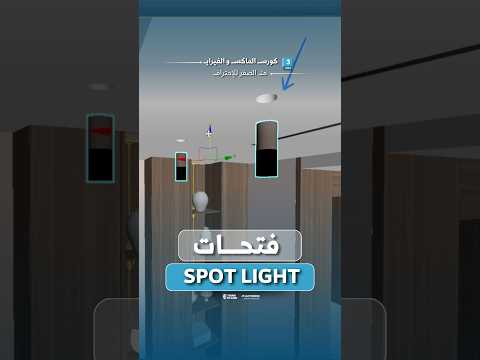
Creating realistic interior renderings requires close attention to small architectural details, especially when it comes to ceiling design and integrated fixtures. Recessed spotlights are a staple of modern interior lighting, but modeling clean ceiling cutouts for them can sometimes challenge 3D artists. Elevate your architectural visualization workflow by learning how to effortlessly model spotlight openings in 3ds Max.
Why Precision Matters in Ceiling Cutouts
In high-end architectural rendering, placing flat light textures directly onto a ceiling surface won't deliver believable results. To achieve true photorealism, light fixtures need realistic depth. Proper spotlight openings allow your light objects to sit naturally inside the ceiling cavity, casting realistic depth shadows and light bounces. This level of geometry detail separates amateur renders from professional-grade visuals.
Top Methods to Model Spotlight Openings
Depending on your ceiling structure, there are two effective ways to craft these openings cleanly:
-
Editable Poly Modeling (Best for Control): Convert your ceiling object into an Editable Poly. Use the Connect or Cut tool to generate geometry loops where your spotlights will be located. Select the faces, apply the Inset tool, and then Extrude the faces inward to create a neat recessed cavity for the fixture frame.
-
ProBoolean Subtraction (Best for Multiple Cuts): If you need to place dozens of circular spotlights across a large false ceiling, create cylinder objects matching the dimensions of your lights. Position these cylinders through the ceiling mesh, combine them, and use the ProBoolean tool set to "Subtract" to carve out all openings simultaneously.
Integrating Lights and Materials
Once your ceiling openings are sculpted, seamlessly integrate your light sources. Whether you are using V-Ray, Corona Renderer, or default lighting features within 3ds Max, position your target or IES lights slightly inside the recessed hole rather than flush with the ceiling plane. Assign a subtle metallic or matte dark material to the internal rim of the cutout to prevent unrealistic glare and ensure believable light decay.
Final Thoughts
Mastering simple geometric techniques like spotlight openings will instantly upgrade the realism of your interior scenes. Practice these steps in your next project to refine your overall architectural modeling skills in 3ds Max and build cleaner, more realistic lighting setups.


