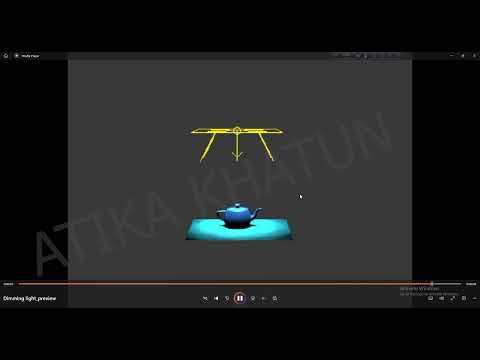
When working on complex 3D scenes or long animation sequences, waiting for full renders just to check motion, timing, or camera paths can severely slow down your production. Fortunately, mastering preview tools within the 3ds Max viewport allows you to review, compare, and fine-tune your work in real-time without wasting valuable render time.
In this guide, we will explore how to effectively utilize the Preview Grab Viewport feature and the built-in RAM Player to streamline your rendering workflow.
Why Use Viewport Previews?
Before sending a scene to a render farm or launching a heavy final render, you need to verify that lighting, camera movement, and character animation are working in harmony. Relying solely on draft renders can consume hours. Instead, creating a quick animation capture from the 3ds Max viewport gives you an instant, full-speed video playback of your scene.
This low-overhead preview ensures that you catch errors in timing, clipping, or transform keyframes early in the production pipeline.
Grabbing Your Viewport Preview
The "Grab Viewport" feature allows you to capture active viewport frames into a video file or image sequence effortlessly.
To create a quick preview: 1. Set up your active camera or perspective angle. 2. Go to the Tools menu and navigate to Create Preview / Grab Viewport. 3. Adjust your target resolution, frame range, and visual style (such as Shaded or Wireframe). 4. Generate the preview file for immediate playback.
This quick output is perfect for internal reviews, director feedback, or client work-in-progress updates.
Comparing Media with the RAM Player
Once you have grabbed your viewport previews or rendered draft frames, how do you accurately compare changes between different iterations? That is where the 3ds Max RAM Player comes into play.
The RAM Player is a powerful dual-channel media viewer built directly into the software. It allows you to load two different image sequences or video clips into Channel A and Channel B for side-by-side or split-screen visual comparison.
- Compare Drafts & Renders: Contrast a viewport capture with a full render to see lighting and visual detail differences.
- A/B Testing: Evaluate different timing adjustments or visual effects side-by-side in real time.
- Memory Efficiency: Store frames directly in system RAM for smooth, uncompressed, high-speed playback.
Conclusion
By combining the speed of viewport preview captures with the diagnostic power of the RAM Player, you can make smarter design decisions in less time. Integrating these tools into your daily workflow inside the 3ds Max viewport is a guaranteed way to speed up project delivery and boost your overall 3D production efficiency.


