In the fast-paced world of architectural visualization and 3D modeling, efficiency is the key to meeting tight deadlines without sacrificing quality. Whether you are a seasoned professional or a beginner using V-Ray or Corona Renderer, waiting for a full-frame render just to check a small detail can be a massive drain on your productivity. Learning how to efficiently utilize the 3ds Max viewport to render only what you need is a game-changer for any digital artist.
Why Focus on Viewport Selections?
When working on complex ArchViz scenes, your project files often contain millions of polygons, high-resolution textures, and intricate lighting setups. Rendering the entire frame repeatedly to see how a specific material looks under a certain light is inefficient. By focusing on a specific selection or region within the 3ds Max viewport, you save valuable time, reduce hardware strain, and can iterate on your designs much faster. This approach allows you to "spot check" your work in real-time.
How to Render Your Selection
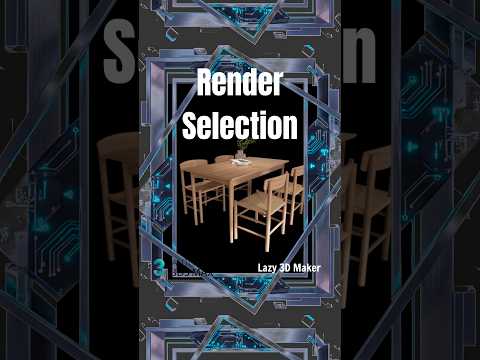
Most modern render engines integrated into 3ds Max, such as V-Ray and Corona, offer specific modes for rendering selections. To get started, you can typically navigate to your Render Setup dialog and change the "Area to Render" from "View" to "Selected." This tells the software to ignore everything else and focus solely on the objects you have highlighted.
Alternatively, many artists prefer using the "Render Region" tool directly within the Virtual Frame Buffer (VFB). Mastering the 3ds Max viewport navigation in conjunction with these tools allows you to frame your subjects perfectly before hitting that render button, ensuring that every test render provides exactly the feedback you need.
Pro Tips for 3D Artists
To further optimize your workflow, consider these tips: 1. Use Interactive Rendering: Both Corona and V-Ray offer interactive modes that update as you move objects or adjust lights in the viewport. 2. Isolate Selection (Alt+Q): Before rendering, use the Isolate Selection tool to declutter your workspace and focus on specific geometry. 3. Proxy Objects: If your viewport performance is lagging, convert heavy assets into proxies to keep your scene responsive.
By integrating these viewport tricks into your daily routine, you will find that your 3D modeling workflow becomes significantly more fluid and professional. Elevating your ArchViz skills starts with mastering these small but powerful features within the software.


