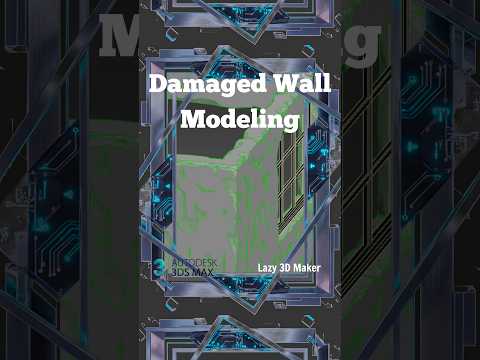
When creating photorealistic 3D environments, perfection is often the enemy of realism. Clean, perfectly straight walls can instantly make an architectural visualization or game environment look artificial. To bring your 3D scenes to life, learning how to add wear, tear, and structural damage is an essential skill. In this tutorial, we will explore effective techniques to craft a realistic damaged wall using Autodesk 3ds Max.
Step 1: Base Mesh and Subdivisions
Every great 3D asset begins with a solid foundation. Start by modeling a simple wall mesh using basic primitive shapes. To ensure the geometry can handle complex displacement and volumetric cuts, increase the height, width, and length segments of your object. Having sufficient polygon density is crucial before applying modifiers or sculpt-like detailing inside Autodesk 3ds Max.
Step 2: Sculpting Damage and Edge Wear
To achieve a believable weathered look, you need a combination of structural chips and surface cracks. You can achieve this using several popular techniques: * ProBoolean and Noise: Use secondary shapes combined with Noise modifiers to subtract chunked geometry from the corners and surface. * Displacement Maps: High-resolution height maps are ideal for adding subtle surface peeling, exposed bricks, or crumbling plaster without overly dense geometry. * Volume Select & Push Modifiers: Select specific vertex areas and manipulate them to create uneven, eroded edges.
Step 3: Texturing with V-Ray and Corona Renderer
Geometry is only half the battle; shaders complete the illusion. Whether you are using V-Ray or Corona Renderer, leverage ambient occlusion (AO) maps like V-Ray Dirt or CoronaAO to apply darker dirt accumulation in deep crevices and cracks. Layering materials using a Blend Material setup allows you to seamlessly transition from smooth plaster to rough, exposed inner concrete or brickwork.
Conclusion
Mastering environmental storytelling takes time, but adding worn elements dramatically improves your render quality. By incorporating these tips into your workflow within Autodesk 3ds Max, you can effortlessly convert plain surfaces into gritty, lifelike environment assets. Give these techniques a try on your next 3D project!


