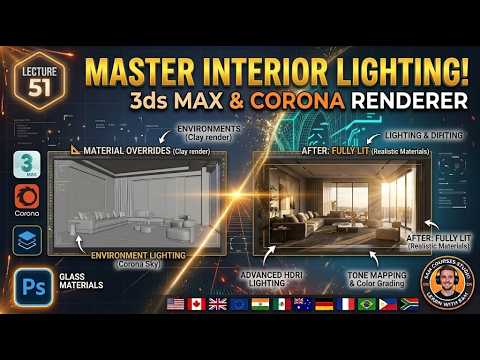
Creating a breathtaking interior visualization is a blend of art and technical precision. While high-quality models and textures are important, lighting is the secret ingredient that breathes life into a scene. In this guide, we dive into the essential techniques for mastering interior lighting using the powerful Corona Renderer within Autodesk 3ds Max.
Why Corona Renderer for Interiors?
Corona Renderer has gained massive popularity among architectural visualization professionals because of its "unbiased" approach and user-friendly interface. Unlike older engines that required complex setups, Corona allows artists to focus on the creative side of lighting. When integrated with Autodesk 3ds Max, it provides a seamless workflow that mimics real-world physics, ensuring that light bounces and shadows behave exactly as they would in a physical room.
Setting Up the Primary Light Sources
The first step in any interior project is establishing the natural light. Using the Corona Sun and Sky system is the most effective way to simulate daylight. By adjusting the sun’s position, you can control the mood of the room—from the bright, crisp light of high noon to the warm, elongated shadows of a "golden hour" sunset.
For window openings, utilizing "Light Portals" or simple Corona Sky setups ensures that the interior receives enough samples to reduce noise, resulting in a clean, high-end finish. This efficiency is one of the many reasons why Autodesk 3ds Max remains the industry standard for interior design professionals.
Adding Depth with Artificial Lighting
Once the natural light is set, it is time to layer in artificial sources. Corona Lights can be shaped into discs, spheres, or rectangles to mimic real-world fixtures like recessed ceiling lights or floor lamps. To add a touch of realism, always use IES files for your spotlights; these provide the specific light distribution patterns found in real-world bulbs, adding an extra layer of authenticity to your renders.
Fine-Tuning and Tone Mapping
One of Corona's standout features is the Interactive LightMix. This tool allows you to adjust the intensity and color of every light source in your scene after the rendering has started—or even after it has finished. This saves hours of re-rendering time and gives you total artistic control over the final atmosphere.
By mastering these lighting foundations, you can transform a flat 3D model into a photorealistic masterpiece that is ready for a professional portfolio. Practice these steps, experiment with different exposures, and watch your interior scenes come to life.


