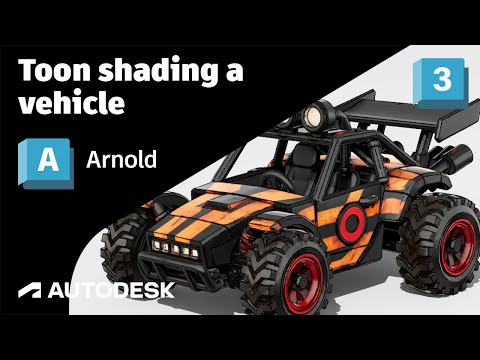
In the world of 3D rendering, achieving a photorealistic look is often the primary goal. However, there is a growing demand for stylized, illustrative, and "cel-shaded" aesthetics in animation and concept art. If you are looking to break away from realism and create a comic-book or anime-inspired look for your mechanical designs, learning how to use 3ds Max arnold for toon shading is a game-changer.
Getting Started with the Arnold Toon Shader
The Arnold renderer is widely known for its physically accurate light transport, but its specialized Toon shader is incredibly robust. Unlike standard shaders that focus on light bounce and texture depth, the Toon shader focuses on "Edges" and "Base" tones to define the silhouette and form of your object.
When shading a vehicle, the first step is to replace standard materials with the Arnold Toon material. This shader allows you to control the line weight and the "stylized" highlight behavior. By adjusting the "Angle Threshold" in the Edge detection settings, you can determine exactly where the ink lines appear on the vehicle’s body, ensuring that every curve and mechanical detail is perfectly outlined.
Lighting for Stylized Results
Lighting a toon-shaded scene in 3ds Max arnold requires a different mindset than traditional rendering. High-contrast lighting usually works best to define the "steps" in the shading. Using Distant lights or simple Point lights helps create clear boundaries between light and shadow, which the Toon shader then interprets as distinct color bands.
You can use the "Ramp" feature within the shader to control how the light falls across the vehicle's surface. Instead of a smooth gradient, you can create a stepped look that mimics hand-drawn cel animation. This technique is particularly effective for metallic surfaces on vehicles, giving them a polished, graphic-novel feel.
Refining the Final Render
To get the most out of your render, you must ensure that your "Filter" settings are correctly configured in the Render Setup. Arnold requires the "Contour" filter to be active to properly draw the lines detected by the Toon shader. Without this, your edges won't appear in the final output.
By mastering these tools, you can transform complex 3D geometry into stunning 2D-inspired art. The versatility of 3ds Max arnold ensures that whether you are going for a "Spider-Verse" style or a classic 90s anime look, you have all the control you need over the final aesthetic. Experiment with line thickness, color ramps, and light placement to give your vehicle a unique, stylized personality.


