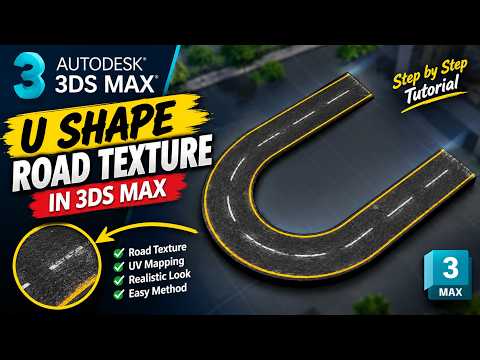
Creating believable outdoor environments is one of the biggest challenges in architectural visualization. While straight asphalt surfaces are straightforward, mapping textures around curved corners often leads to stretched, unrealistic textures that ruin an otherwise stunning visualization. If you want to achieve professional-grade 3ds Max rendering, mastering corner road mapping is an essential skill you need in your 3D workflow.
In this guide, we’ll break down the easiest method to map textures seamlessly along curved roads without distortion.
Why Proper UV Mapping is Essential for Roads
When building urban scenes, roads serve as a major focal point. Default UV mapping often causes asphalt grain, lane lines, and curb textures to misalign when a road turns at a 90-degree angle or follows a smooth curve. By utilizing proper UV unwrapping and mapping techniques, you ensure that road markings naturally bend along the path, adding a crucial layer of realism to your final scene.
Step-by-Step Corner Road Mapping Process
- Prepare Your Geometry: Start with a clean, low-poly or mid-poly mesh for your road intersection or curved path. Ensure your edge loops smoothly follow the direction of the turn.
- Apply the Unwrap UVW Modifier: Select your road object and add the Unwrap UVW modifier from the modifier list. This modifier gives you total control over texture projection.
- Utilize Spline Mapping or UV Straightening: For curved paths, use the Spline Mapping feature or open the UV Editor to flatten and straighten the selected road polys. This aligns the UV coordinates linearly along the curve.
- Adjust Scale and Tiling: Tweak the UV map scale so that lane lines and road textures maintain consistent proportions without stretching or squishing around the bend.
Elevate Your Visuals with Realism
A great UV map is only half the battle; proper material setup brings your scene to life. Combining accurate texture placement with specular and normal maps allows you to produce realistic surface imperfections and wet-asphalt effects in your 3ds Max rendering projects.
Whether you are using V-Ray, Corona, or Arnold, correct road mapping ensures light reacts naturally across curved surfaces. Implementing these simple mapping steps will instantly boost the visual quality of your architectural scenes and streamline your 3ds Max rendering workflow.


