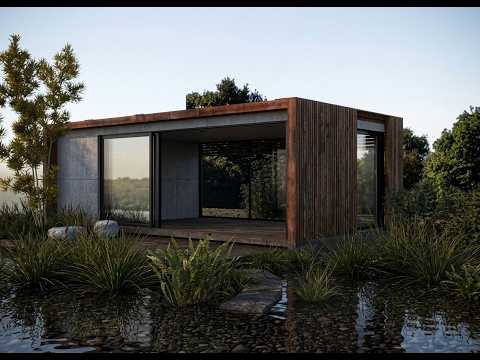
Achieving a truly photorealistic finish in architectural visualization requires more than just high-quality assets; it requires a deep understanding of light, texture, and software synergy. If you are looking to elevate your interior renders to a world-class standard, mastering the 3ds Max corona renderer is one of the most effective ways to achieve professional results with an intuitive, artist-friendly workflow.
Setting the Stage with Precise Modeling
Every great render begins with a solid foundation. In high-end luxury interiors, detail is king. This means focusing on realistic geometry, from the subtle bevels on marble countertops to the natural folds in upholstered furniture. When working within the 3ds Max corona renderer environment, ensuring your scene scale is 100% accurate is crucial. Physical accuracy in modeling allows the engine's light calculation to behave exactly as it would in the real world, preventing the "uncanny valley" effect often seen in amateur work.
Mastering Natural and Artificial Lighting
Corona Renderer is celebrated in the industry for its physical accuracy and ease of use. To achieve a "luxury" atmosphere, start with a simple Corona Sky and Sun setup to establish your primary natural light source. The goal is to create soft, inviting shadows that define the depth of the space without blowing out the highlights.
One of the standout features of the 3ds Max corona renderer is the "LightMix" tool. This allows you to adjust the intensity and color of every light source in your scene in real-time, even after the rendering has started. This flexibility lets you move from a bright morning setup to a moody evening atmosphere without ever hitting the render button twice.
Texture, Shading, and Final Touches
To bridge the gap between a digital image and a photograph, you must master PBR (Physically Based Rendering) materials. High-resolution textures for wood grains, stone veining, and fabric weaves are essential. However, the secret sauce lies in the "imperfections"—adding subtle glossiness maps for fingerprints or light dust can add that final layer of believability.
Once your materials are set, utilize Corona’s built-in Frame Buffer to tweak contrast, saturation, and color balance. By following this structured workflow, you can transform a basic 3D scene into a cinematic, luxury interior that is indistinguishable from reality.


