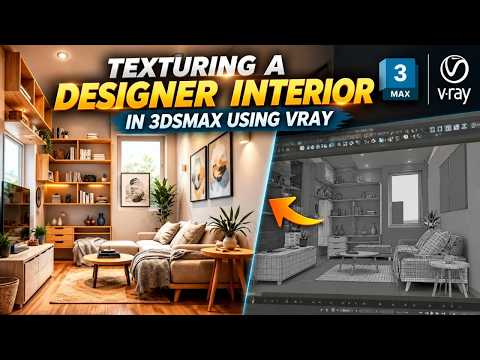
Creating a photorealistic interior visualization is a multi-step process that goes far beyond simple 3D modeling. To truly bring a designer space to life, you must master the art of material application. In this guide, we explore the professional workflow for texturing high-end interiors using the powerful combination of Autodesk 3ds Max and V-Ray.
The Foundation of Realistic Materials
The secret to a stunning render lies in the details of your surfaces. When you begin a project, your primary goal is to replicate how real-world materials react to light. Whether it is the soft sheen of a polished marble floor or the intricate grain of a wooden cabinet, every 3ds Max texture needs to be carefully calibrated. Using high-quality PBR (Physically Based Rendering) maps is essential for achieving that designer look. You aren't just applying a color; you are defining reflections, glossiness, and surface bumps.
Mastering the UVW Mapping Workflow
Once you have selected your materials, the next challenge is ensuring they wrap around your geometry correctly. This is where UVW Mapping comes into play. Without proper mapping, even the highest resolution 3ds Max texture will look stretched or unnatural. For designer interiors, pay close attention to the scale of your textures. If a fabric weave or wood plank looks too large or too small, the entire sense of scale in the room will be ruined, breaking the immersion for the viewer.
Enhancing Realism with V-Ray Shaders
V-Ray offers an incredible suite of shaders that allow for advanced surface effects. For designer interiors, use the V-Ray Dirt map to add subtle ambient occlusion in corners, or utilize displacement maps to give carpets and stone walls actual geometric depth. By fine-tuning these settings, you ensure that every 3ds Max texture interacts perfectly with your lighting setup, creating those soft shadows and sharp highlights that define luxury architectural visualization.
Final Touches for a Professional Finish
The difference between a "good" render and a "breathtaking" one often comes down to post-processing and fine-tuning. Before hitting that final render button, double-check your glossiness maps and ensure your white balance is set correctly. By following a structured texturing workflow, you can transform a basic 3D room into a portfolio-ready masterpiece that looks indistinguishable from a high-end photograph.


