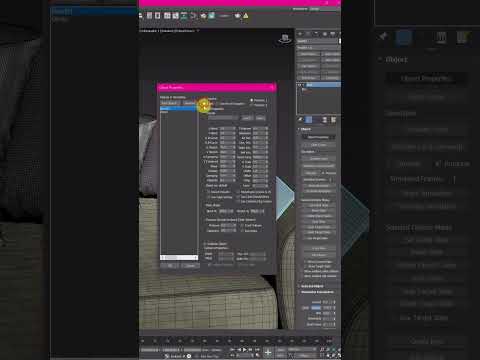
Adding soft furnishings like cushions and pillows to your architectural visualization renders brings a layer of realism and warmth to any interior scene. However, modeling realistic fabric folds from scratch can often feel tedious and time-consuming. In this quick 3ds Max tutorial, you will learn an efficient method to create detailed 3D pillows in just a few simple steps.
Step 1: Set Up the Base Geometry
Start by creating a simple primitive object in your viewport. A standard Box primitive works best for this technique:
- Go to the Create Panel and select Box.
- Draw a box with typical pillow dimensions (e.g., Length: 50 cm, Width: 50 cm, Height: 5 cm).
- Increase the segment count. Set the Length, Width, and Height Segments to around 30 to 40. High segment density is crucial because the cloth physics engine needs enough polygon grid detail to create realistic folds.
Step 2: Apply the Cloth Simulation
To give your pillow a soft, inflated appearance without manual sculpting, leverage the built-in dynamics engine:
- Select your box geometry and add the Cloth Modifier from the modifier list.
- Click on Object Properties inside the Cloth settings.
- Select your box object from the list, set it to Cloth, and choose a preset like Cotton or Silk.
- Adjust the Pressure value to around 20 to 30. This setting simulates air pumping inside the box, instantly expanding it into a cushion shape.
- Click Simulate Local. Watch the box inflate in real time into a realistic pillow! Stop the simulation once you achieve the desired shape.
Step 3: Refine Folds and Apply Smoothness
Once the base shape is simulated, collapse the modifier stack or convert the mesh to an Editable Poly. To enhance the natural fabric wrinkles:
- Use the Paint Deform tool or brush modifiers to pull subtle creases along the edges.
- Apply a TurboSmooth or MeshSmooth modifier with 1 or 2 iterations to eliminate sharp polygon edges and achieve a polished finish.
Final Thoughts
Creating realistic soft assets does not require hours of complex poly modeling. Following a streamlined 3ds Max tutorial like this allows you to leverage physics simulations for speed and photorealism. Practice this technique to dramatically speed up your interior rendering workflow!


