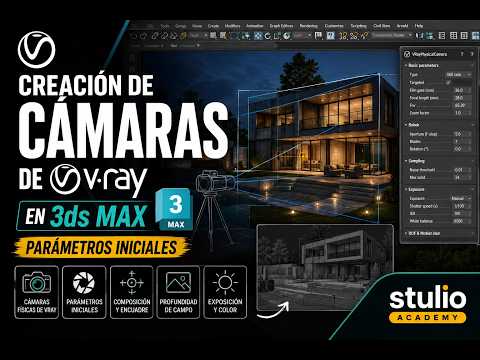
When it comes to high-end architectural visualization and product rendering, the way you frame your scene is just as important as the lighting or the materials you use. In the professional world of 3ds Max, the V-Ray Physical Camera is the industry-standard tool for achieving photorealistic results. By mimicking the behavior of real-world cameras, it allows artists to capture scenes with depth, clarity, and cinematic flair.
Why Use the V-Ray Physical Camera?
Unlike a standard digital camera, the V-Ray Physical Camera provides a comprehensive suite of controls that replicate professional photography. This includes parameters like shutter speed, aperture (f-number), and ISO. By using these settings within 3ds Max, you can control the exposure of your scene and even add artistic effects like "bokeh" or motion blur directly during the rendering process.
Creating Your First Camera
To get started, navigate to the Create Panel and select the Cameras category. Choose "V-Ray" from the dropdown menu and click on "V-Ray Physical Camera." Simply click and drag in your viewport to set the camera position and its target.
Once placed, it is essential to align your camera to the desired perspective. A common tip for architectural interiors is to keep your camera level and use the "Guess Vertical Shift" or "Perspective Control" options to ensure your vertical lines remain perfectly straight, avoiding the dreaded "tilting building" effect.
Essential Initial Parameters
Before you hit the render button, there are three core parameters you should adjust:
- Focal Length: This determines the field of view. A focal length of 35mm to 50mm is standard for realistic human eye perspectives, while lower values (18mm-24mm) are great for wide-angle interior shots.
- Exposure (EV): Instead of manually calculating ISO and shutter speed, you can use the Exposure Value (EV) setting. Lowering the EV makes the image brighter, while increasing it makes the image darker.
- White Balance: This corrects the color temperature of your light. Setting it to "Neutral" is a safe bet for beginners, but you can use "Daylight" for outdoor scenes to ensure colors appear natural.
Conclusion
Mastering the camera is the first step toward professional-grade 3D art. By understanding these initial parameters within 3ds Max, you gain total control over the mood and composition of your renders. Practice with different focal lengths and exposure settings to see how they transform your digital environments into realistic masterpieces.


