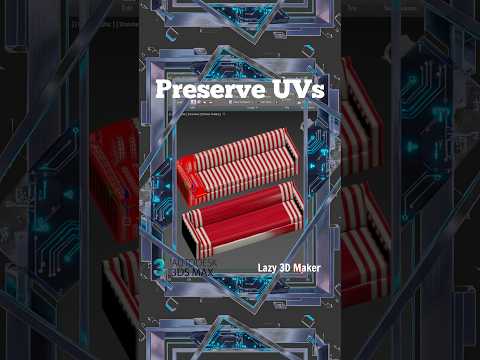
In the fast-paced world of 3D modeling, few things are as frustrating as seeing a perfectly mapped texture get ruined by a late-stage geometry change. Whether you are creating architectural visualizations or complex character assets, maintaining visual consistency is key to a professional-grade render. Thankfully, 3ds Max offers a built-in feature designed specifically to solve this common headache: the "Preserve UVs" function.
Why UV Preservation is Essential
When you move a vertex, edge, or polygon on a model that has already been textured, the software typically stretches the underlying map to accommodate the new geometric position. This results in "texture sliding" or unsightly distortion. For artists using high-end engines like V-Ray or Corona Renderer, this means you would traditionally have to go back and re-unwrap your model—a massive time-sink that disrupts the creative flow. By using the right settings in 3ds Max, you can adjust your topology without destroying your hard work on the mapping coordinates.
How to Activate Preserve UVs
The process is incredibly straightforward but is often overlooked by beginners and intermediate users alike. To use it, follow these simple steps:
- Select your object and ensure it has an "Edit Poly" modifier applied or has been converted to an "Editable Poly."
- In the Command Panel, navigate to the "Edit Geometry" rollout.
- Locate and check the box labeled "Preserve UVs."
Once this is active, you can move, rotate, or even scale your sub-object selections. You will notice that the texture stays "pinned" in place relative to the world space, as 3ds Max automatically recalculates the mapping coordinates in real-time to ensure the texture does not warp as you modify the mesh.
Workflow Tips for Pro Rendering
This feature is a game-changer during the "Look-Dev" phase of a project. Often, after seeing a test render in V-Ray or Corona, you might realize a wall needs to be slightly shifted or a furniture leg needs its proportions tweaked. Instead of restarting the UV process from scratch, simply toggle the preservation setting and make your adjustments on the fly.
While this tool is remarkably powerful, it is best suited for minor to moderate adjustments. For extreme geometry shifts, a quick Unwrapping pass might still be necessary. However, for the majority of daily modeling tasks, mastering this trick will save you hours of redundant labor and keep your textures looking crisp and professional.


