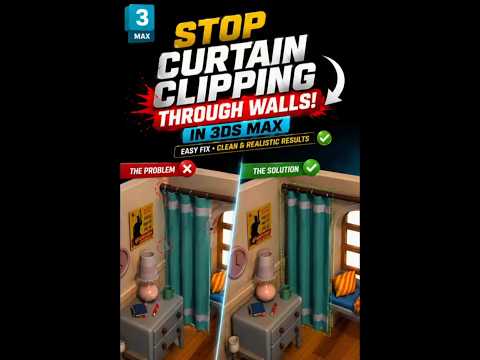
In the world of architectural visualization, the smallest details often make the biggest difference between a "CG look" and a photorealistic masterpiece. One of the most common—and frustrating—issues that 3D artists face is geometry "clipping" or intersecting. Specifically, seeing your curtains bleed through solid walls can instantly ruin the realism of a scene and create unnecessary work during the post-production phase. Fortunately, fixing this in 3ds Max is a straightforward process that will significantly elevate the quality of your interior renders.
The Problem with Intersecting Geometry
When objects like fabric meshes and wall geometry occupy the same physical space, rendering engines often struggle to calculate which surface should be visible. This technical conflict usually results in "z-fighting," which manifests as unsightly flickering, black artifacts, or jagged shadows in your final image. To achieve a clean, professional look, you must ensure there is a clear, albeit microscopic, gap between your curtain models and the wall surfaces.
Practical Steps to Fix Clipping
The first step to a clean scene is utilizing the transform tools to precisely position your models. Instead of "eye-balling" the placement in the perspective viewport, switch to the Top or Left orthographic views for total control. Use the move tool and coordinate entry to nudge the curtains away from the wall.
If you are using cloth simulations, the fix is even more technical. Ensure your "Collision Offset" values are set high enough so that the fabric naturally drapes without passing through the wall boundary. By maintaining a clean topology and proper distances within 3ds Max, you allow light to bounce naturally between surfaces, which is the key to achieving that high-end, realistic lighting behavior.
Achieving Professional Results
Beyond just fixing the clipping, consider how the curtains interact with window frames and rods. Proper layering not only prevents technical errors but also adds depth and believable "weight" to your scene. Mastering these subtle modeling techniques ensures that your final output is polished and ready for a professional portfolio. With a few quick adjustments in 3ds Max, you can say goodbye to messy intersections and hello to flawless, high-quality 3D interiors that impress clients and peers alike.


