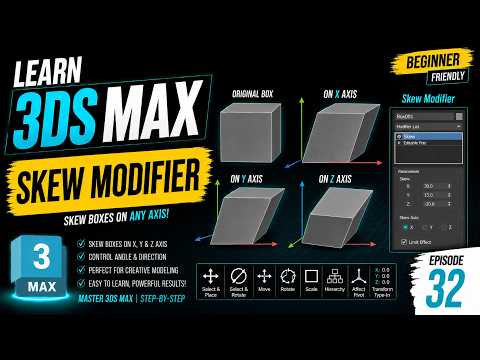
Whether you are designing stylized architecture, creating dynamic motion graphics, or tweaking 3D assets, modifiers play a crucial role in your workflow. One of the simplest yet most effective tools for geometric manipulation is the Skew Modifier in 3ds Max. This versatile tool allows artists to offset and slant any object along specific axes with complete precision.
In this guide, we will break down how the Skew Modifier works and how you can use it to enhance your 3D modeling projects.
What is the Skew Modifier?
The Skew Modifier introduces a controlled slant or tilt to an object's geometry. Instead of manually moving individual vertices, you can apply this parametric modifier to instantly lean your model along the X, Y, or Z axis. It is ideal for creating leaning structures, dynamic typography, stylized characters, or architectural elements that require organic asymmetry.
Key Parameters Explained
When working with geometry in 3ds Max, understanding the modifier stack controls is essential. Here are the primary settings you will interact with when using Skew:
- Amount: Controls the angle and severity of the tilt. Positive values lean the object in one direction, while negative values tilt it the opposite way.
- Direction: Rotates the orientation of the skew relative to the selected axis, allowing for diagonal or angled slants.
- Axis (X, Y, Z): Determines which axis the modifier distorts. You can easily switch between axes to achieve the exact deformation required.
- Limits: Allows you to restrict the skew effect to a specific region of your object, leaving the remaining geometry completely unaffected.
Pro Tip for Smooth Results
A common mistake beginners make is applying the modifier to a basic shape with insufficient polygon density. For the Skew Modifier to produce smooth, clean curves without awkward geometric stretching, your base object must have enough segments along the active axis. Always ensure your mesh is adequately subdivided before adjusting the skew settings.
Conclusion
Mastering basic parametric modifiers is key to building a fast and non-destructive workflow. By incorporating the Skew Modifier into your toolkit, you can quickly add dynamic flair and realistic offsets to your assets, unlocking new creative possibilities in 3ds Max.


