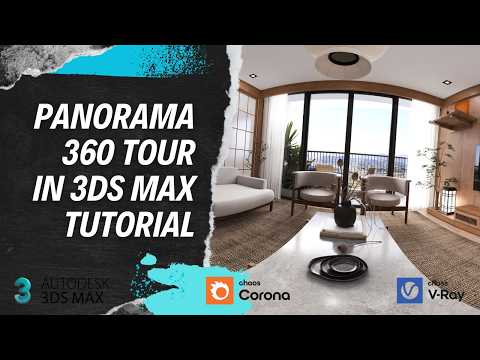
Creating immersive 360-degree panorama renders is one of the most effective ways to showcase architectural interiors, virtual tours, and interactive 3D environments. Whether you use V-Ray or Corona Renderer, mastering 3ds Max lighting and specialized camera configurations will elevate your visualization projects to a professional standard.
In this guide, we will walk you through the essential steps to configure, light, and render seamless 360 panoramas in Autodesk 3ds Max.
Step 1: Configure Your 360 Camera Setup
Before diving into scene details, you need to configure your camera properly. Place your camera at eye level near the center of the space you want to highlight.
- V-Ray Setup: Select your camera, navigate to the V-Ray Camera settings, change the frame type to "Spherical," and override the FOV (Field of View) to 360 degrees.
- Corona Setup: Select the Corona Camera, go to the Projection parameters section, and switch the camera projection mode to "VR Spherical."
To ensure your render works correctly on 360 web viewers and VR platforms, set your render output resolution to an aspect ratio of 2:1 (such as 6000 x 3000 pixels).
Step 2: Perfect Your Scene with Strategic 3ds Max Lighting
Because a 360 panorama captures every angle of an environment simultaneously, balanced illumination is critical. Implementing strategic 3ds Max lighting techniques ensures your scene feels realistic and cohesive from wall to wall.
- Utilize HDRI Environment Maps: Using dome lights paired with high-quality HDRI maps offers consistent ambient lighting and natural reflections across the entire panoramic sweep.
- Balance Interior Fill Lights: Place local light sources (V-Ray Lights or Corona Lights) inside light fixtures to emphasize architectural highlights. Take extra care with exposure—overexposed window light or pitch-black corners will ruin the sense of immersion.
- Refine Global Illumination (GI): Ensure your GI engine settings are optimized to eliminate dark artifacts and noise when fine-tuning your 3ds Max lighting setups for final production.
Step 3: Test Render and Export
Before committing to a final render, run quick low-resolution test shots to review lighting uniformity, exposure levels, and material reflection. Verify that light transitions smoothly across all visible areas without severe burnout.
Once satisfied with the test results, render out your image at full resolution, save it in high-quality PNG or EXR format, and upload it to your preferred 360 viewing tool or portfolio showcase!


